August 13, 2010

Pink Paislee Warehouse Sale

It's not easy to find Pink Paislee products locally. Sometimes there are products you just have to see in person to appreciate. I have to say that since I got some of the artisan elements flourishes a few months back I have become a fan! So when I saw the warehouse sale I jumped on it. (it's still going on until the 17th! so hurry!)

here are the fronts of all the 12x12's I got


I also got a couple sheets of the newest releases. the house of three has some clear glazing on it so when you ink/mist etc over it you will have a nice white contrast to the design. Very versatile line.


I was also impressed to see two canvas albums in the box, each have several thick chipboard pages in a binder album so you could add more pages if you like. Also Pixie stix! (which I forgot all about as I was making the kits below! :P)


...and I wouldn't have probably bought these online cause I would have never seen all the cool images on them. some are lined, some aren't, some have patterns and swirls, others have mini quotes. (still leaving room for journaling though.) there were 3 pkgs of these.


I decided to put a few kits together with all the products I got and will store it this way until I use it the first time. The papers are shown with the sides *I* would most likely use but if you scroll up you can see the opposite sides of most of them. (like the Postcards clip sheet for instance. I'm known to cut stuff out from the back side of a LO where matting layers hide the holes, and use it for the front :) )

Christmas (I'd probably use the gold Pixie stix in here ;) )


Halloween *the glitter chipboard letters are a lot like AC Thickers which I know most people LOVE.


Mostly 360 products with a few extras


Mostly Bayberry (plus Sugar Plum Pixie Stix)


I only have 6 random items and one of those were just white letters which could go anywhere! out of the entire box there was maybe 3-4 things I wouldn't really reach for right away.


that's it! totally worth it IMO. a medium flat rate box PACKED with products. the only repeats I got were a few sheets of the twilight and the iron-ons (which I already have a plan for! to decorate some pillow covers for Oct.)

August 3, 2010

This Is Why I Scrapbook

I love this!


There are a million little things I will forget a long my way and one day I will open a page in *My Scrapbook* and remember it all over again. I may share this with friends or family along my journey but they are my memories and this is how I choose to keep them.

I occasionally hear of a scrapbooker like myself who doesn't have children and may never. We are sometimes asked "what is the point, who will you give your scrapbook to?", (sometimes we are even the ones asking ourselves that question). I know what the point is...and while I may not know who I will leave mine to I am just reminded of the Victorian scrapbook I found in an antique store. That scrapbook was nothing as intricate as my scrapbook yet they sell for over $100 fairly often. *I* wanted that scrapbook and I didn't have a clue who that person was. Call it curiosity.

It's likely the same reason I have not been able to force myself to rip apart that ledger I bought a few months back. It tells a story of a husband and wife who were farmers. They sold milk from their cows. They went to baseball games, movies and even noted the purchase of a special dress for a certain occasion. It tells about their hardships and pain. Divorce, finding new love, and the people that were with them along the way. Again, I didn't know these people but I found it fascinating.

July 22, 2010

I WON!!

Yes I actually won something!! If you all knew what I've been doing to TRY and win something you'd all be laughing at me!

Check it out!

7 Gypsies 8X8 Paddington Collection

July 12, 2010

organizing scraps


Can't remember where I saw this idea. Might have been from someone on the Papertrey Ink DT??

Anyway, I LOVE this system. It makes putting multiple colors on my cutting mat a breeze. I can just grab something and throw it on the Cricut mat. I'm contemplating putting my pattern papers in there too. I usually keep my scraps with the paper line they came from. I've noticed myself reaching for this basket a lot though and am thinking I'd use up the patterned paper scraps faster too.

(I saw the baskets at Micheal's and Lowe's Hardware if you are looking for something similar. This size required the manila folders to be trimmed slightly I just held one up to the side of the basket and marked a few reference points and trimmed till I got one that worked.)

June 30, 2010

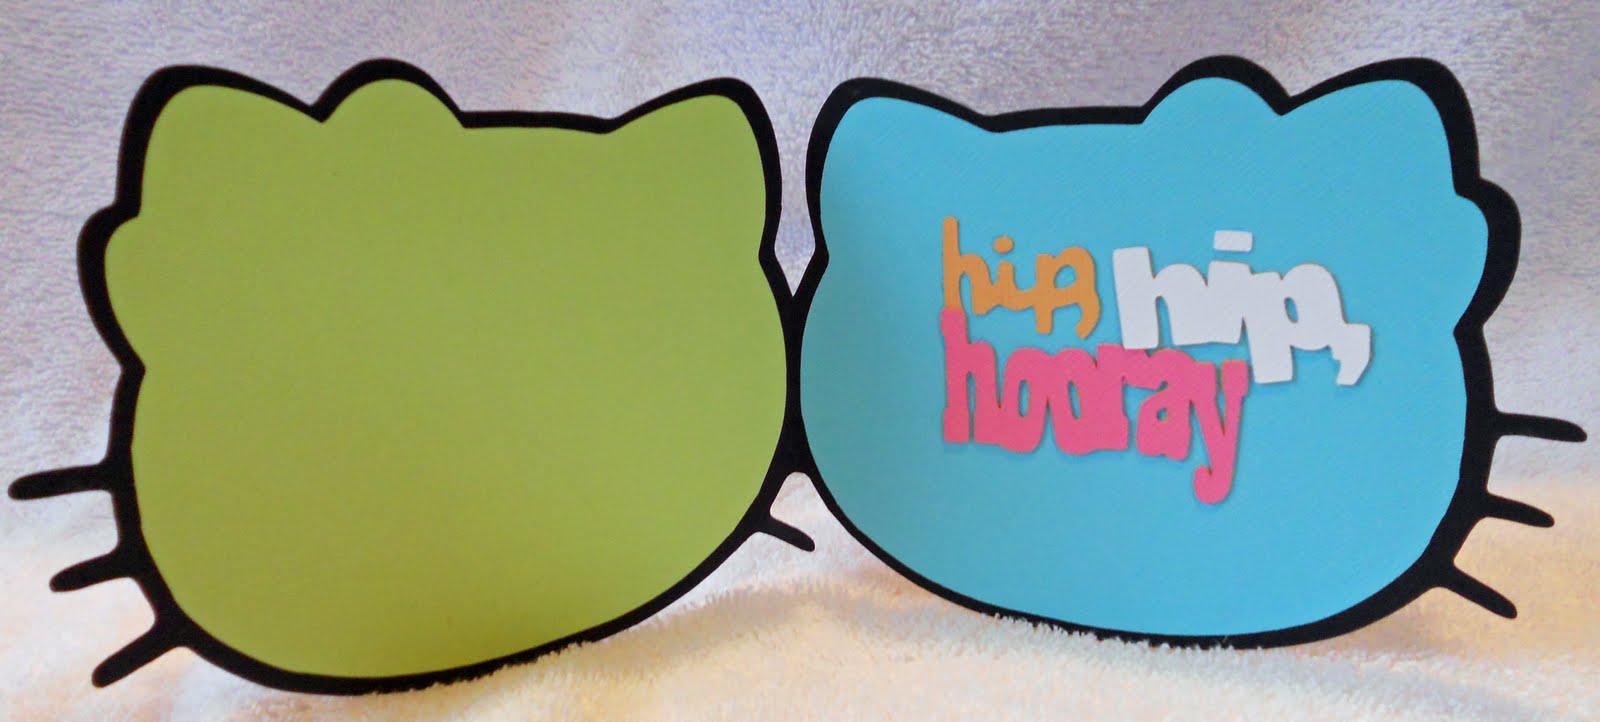
Hip, Hip, Hooray


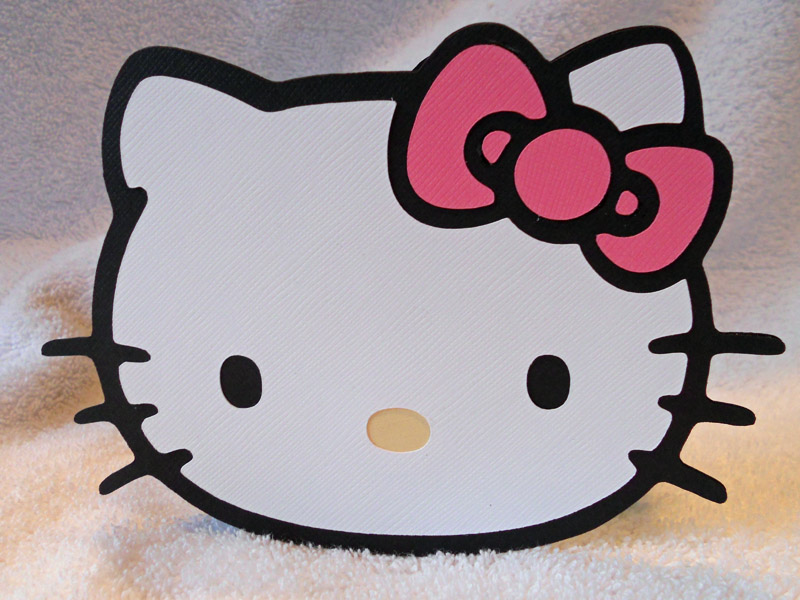
A quick Cricut card made using the Hello Kitty Greeting Cartridge and layered sentiment from the Sweet Treats Cartridge.

I love how thick and substantial the layered CS feels on these cards. I was afraid they wouldn't feel as nice as the cards I make without the Cricut but I was wrong. Once I understood the construction of these I realized the front cover (including the inside backing) was 4 layers. if you look at it you may only think there are 3 layers though right? well the whiskers on the hinge side are "missing" on the card base so you actually cut a second layer of shadow image and adhere it to the front, thus replacing the missing whiskers. It was a little tricky to figure out at first.

June 25, 2010

Tim Holtz embossing folders & More Cricut cuts!

I've been so excited to use these folders. They really are some of my favorite tools already but the Tim Holtz ones are a great addition to the more "cute" Cuttlebug folders I already own. It came in handy pretty quick too with Father's Day last weekend.


With this card I used the Patchwork embossing folder on Grunge Paper (which was not what I expected it to be. it's thicker than CS, more like a thin chipboard). I ran it through my Sizzix to emboss the grunge paper. Then I inked each patch a different color using Distress ink and a Colorbox Blending Stylus (this tool offers more precision that the Ranger one). Once each patch was colored I used a direct to paper method and applied the black ink right over the top of the raised embossing. This made all the borders and images pop.

The Father's Day diecut letters were from Cricut Wild Cart Cartridge. It was just a single solid image originally. I cut it once in the blue and once in the red and then cut the words apart. Then foam tape stacked them for depth.

My Dad is really into his modified Harley trike right now so it needed a motorcycle charm. Of course a happy coincidence was the clock hand/arrow, Dad immediately saw it as a "gauge" *of course*. LOL


On the inside of the card I used the notebook paper Cricut cut from Graphically Speaking and embossed it in a random fashion using the Tim Holtz Notebook paper embossing folder. To do this I placed the diecut into the embossing folder and tapped on the folder to emboss the images where I wanted texture. This left the center of the notebook paper flat to make it easier to write a message.

June 21, 2010

I got a bit behind here!!

I have 3 "Mom's" I try and do something for each year. doesn't always happen but sometimes better late than never right? With my husband getting ready to deploy soon it was a bit chaotic around here the last month or so.

I did get to play with a bunch of my new Cricut cartridges which was fun! Used a few Cuttlebug embossing folders too.

I found this purse at Fred Meyer's and immediately thought of my MIL. She loves pretty girlie things like I do and has the best house old house for displaying such things. (it's older than any *town* around here LOL)


On this card I used the Mother's Day Solutions Cricut Cartridge to cut out "Mama" but since DH calls his Mom "Ma" I just cut it down by hand. ;) Also used this cartridge for the layered damask cut behind it. It's hard to tell from the picture but the patterned paper I used here was Paris Nights by GCD Studios from a couple winters back. it had the prettiest gold pearl shimmer to it. The embossing on the corner of the vellum (and the purple polkadots on the front lower right corner) was done using a Cuttlebug folder and a technique my friend Susan Stringfellow taught me! She uses a pair of the old Quickutz handtools, I found just setting it on the desk and tapping along the pattern I want to reveal with my Making Memories Hammer was enough force to decorate the edges of this a bit.


A card I made for my stepmom. another use of the Mother's Day Solutions Cartridge. I really loved the pinwheel on this cartridge. Way better than the hand made square ones I have always done. The flower they give you for the center is great too. Since I needed a bunch of pattern papers for this I used the 6x6 paper stacks I have accumulated over time. I think I used 3 different ones on this. Easy to coordinate and already cut down for multiple cuts on the Cricut at once!

I still have one more gift to give MY Mom now but that might take me most of the summer to complete and she already knows it is coming ;) (Making her an 8x8 chipboard album on her wedding pictures using the MME Lush collection that is done in velvet! I can't wait to create it!

May 21, 2010

Robot Lovin'

From the moment Roomba first buzzed across my living room floor it was love at first sight. Not sure who loves her more, Auggie or I! The first few weeks he'd bark and smack at her when she got too close. Now if I don't tell him to get out of the way he just stands there. Waiting for Roomba to "detect" him and turn the other direction. He's even slept through it!


The first casualty of my poor Roomba. Her spinning brush! Luckily all Romba's moving parts are owner replaceable! :)


Created using Susan Stringfellow's Sketch Savvy #25
Related Posts Plugin for WordPress, Blogger...